My first project for today is for a challenge at Turtle
Soup:
Today I have a challenge up for the
Birthday Bash Crop at Turtle Soup.
My challenge for you is to create a
shaped card. Be creative and have fun!
I created this "Make A
Wish" card using my Cricut and the
Creative Cards cartridge. Be sure
to check out the forum and be inspired by
all the wonderful challenges from the
design team this month.
My second project is a tutorial that I have up on
the Off the Rails
Scrapbooking blog. I was inspired by my
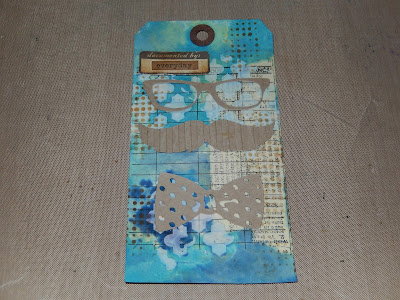
husband Randy when he wore a bow tie to church last Sunday. I remembered I had a Cricut cartridge (Brooklyn Iron-On) with
some cuts on it that would be perfect for making a tag. He is an avid book worm
... I mean reader and this tag
will make a perfect bookmark for him.
will make a perfect bookmark for him.
I've listed directions and photos of the steps but did not list photos of the tag in progress. Two thoughts on this: One: I did not want to give you a perceived idea as to what your tag should look like. There is no right or wrong way to do this ... and Two: I totally forgot to take the photos in between the steps.
I got to excited about
making the tag!
1) I gathered all my supplies
that I thought I would need.
2) To create a mask area I
adhered strips of torn
tissue tape and applied them to the tag.
3) I placed a stencil over
the tag and applied some
texture paste.
I dried with a heat gun.
4) I applied several colors
of distress stain to my
craft sheet and lightly misted the tag with water.
I swiped the tag through the stains to
create random colored areas.
I filled in areas on the tag using distress stain directly
from the bottle and misted with water to blend.
I dried the tag with a heat gun.
5) I placed another stencil over the tag and inked with
distress ink using a blending tool.
6) I used various colors of
distress paint to alter my
metal word embellishment.
9) I then distressed the
edges of the tag with a distressing
tool and inked the edges of the tag.
I added the rest of the embellishments.
The finished tag:


No comments:
Post a Comment